STEP
ACTION
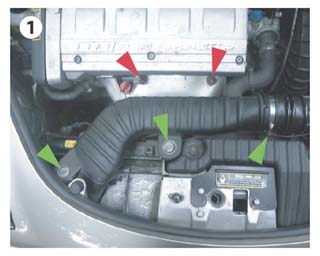
1
Remove the screws retaining the air duct (marked in green).
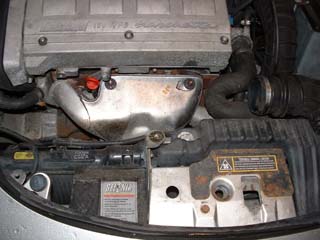
Remove air duct. View with duct, PIC 1, without duct PIC 1A
PIC
1
PIC 1A
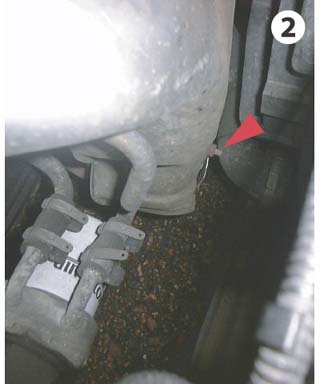
2
Remove 3 nuts from heatshield (red, pics 1 & 2)
PIC
2
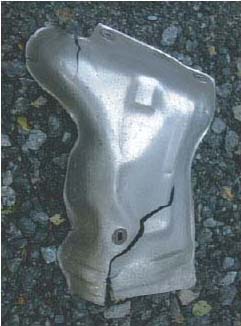
3
Pull heatshield up and out, levering the left side forward and away from oil feed pipe.
Pic 3 shows the likely extent of damage, symptoms being severe vibration noise. PIC 3A shows the engine bay with the heat shield removed.
PIC
3
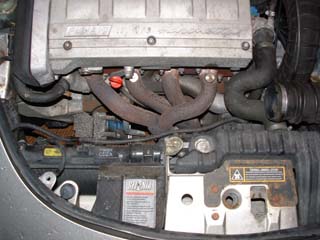
PIC 3A
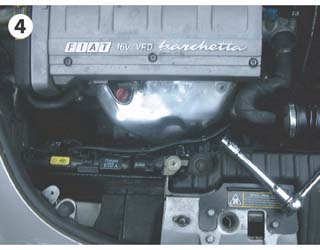
4
PIC
4
5
PIC 5
