| WHAT
YOU HAVE TO DO |
|
STEP
|
ACTION
|
|
1
|
Undo
3 screws on underside of steering column housing. |
|
2
|
Remove
lower half of steering column housing (being careful not to snap any of
the plastic tabs). |
|
3
|
Undo
2 screws retaining top half of steering column housing (inside top front
corner on each side). |
|
4
|
Ensure
steering wheel is adjusted to its lowest setting. |
|
5
|
Remove
4 Allen bolts retaining instrument cover (3 mm Allen key). |
|
6
|
Remove instrument cover. |
|
7
|
Withdraw instrument unit.(This is also the way to access the instrument
and warning light bulbs.) |
|
8
|
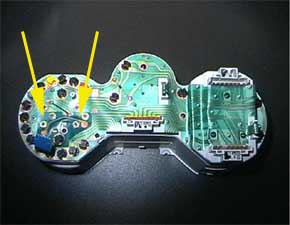
Disconnect
4 electrical plugs at back of instrument unit. |
|
9
|
Remove
instrument unit. |
|
10
|
Pull
off trip meter button. |
|
|
11
|
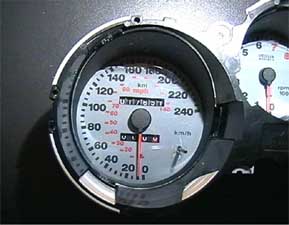
Remove
black dial cover by releasing the 8 clips around its edge.
|
|
12
|
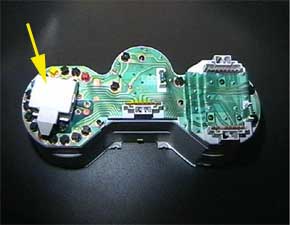
Turning
to the back of the unit, remove the grey plastic box on the left hand side
(2 screws and an electrical plug). |
|
|
13
|
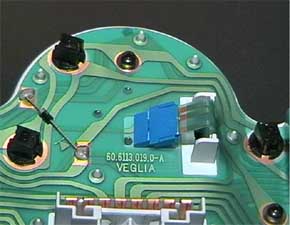
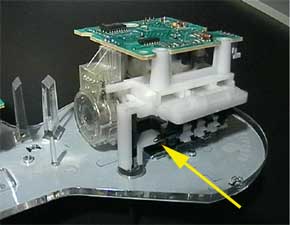
Using
a fine screwdriver, gently ease out the electrical plugs entering the back
of the speedo and rev counter. |
|
|
14
|
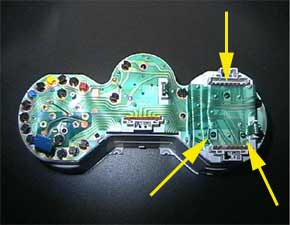
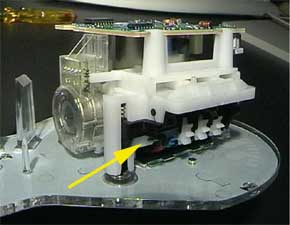
Remove
the 3 black screws retaining the speedo in the housing.
|
|
|
15
|
Remove
the 6 nuts and washers retaining the fuel and temperature gauges in the
housing (using long-nose pliers or a very small spanner). |
|
|
16
|
Gently
remove the dials as one unit from the housing. |
|
17
|
You
will see why the trip meter no longer works the spindle running through
the numbers and cogs has become dislodged from the fork connected to the
back of the trip zeroing button. |
|
|
18
|
Gently
ease the spindle back into the fork. |
|
|
19
|
Follow
the above instructions in reverse to put it all back together! |