STEP
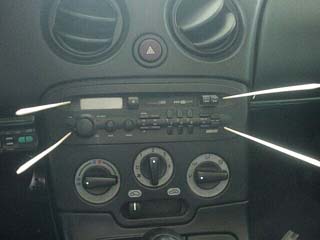
Remove Grundig by prodding a skewer or small screwdriver in each of the 4 holes
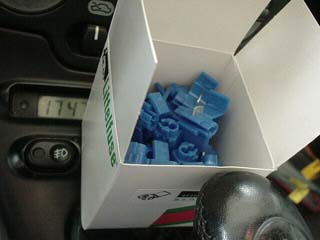
These things came in very handy - they connect any wire to an existing wire. EUR 0.35 a piece, or only EUR 7.75 a box of 50 (so you can screw up a bit).
The Grundig
radio doesn't have a switching plus - you can find one at the digital
clock (yellow wire)
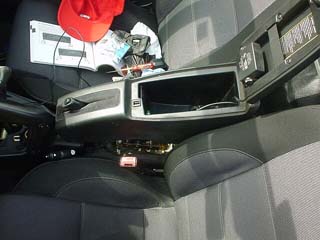
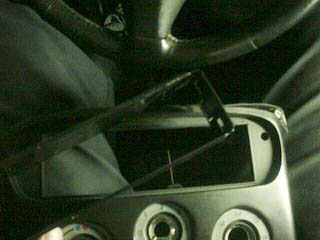
Look here how to disassemble the lower half of the console.
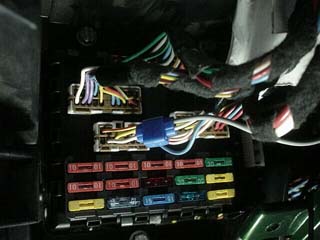
The reverse lamp wire can be taken from the fusebox: the white wire (2nd connection bottom left)
Finally,
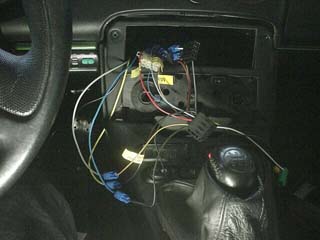
to get to the speed-pulse, remove the dashboard cluster.
Look here how to remove it.
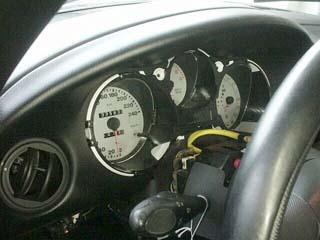
and find the light blue wire on the left of the back of the speedo
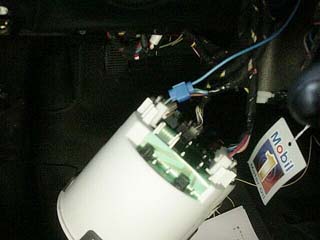
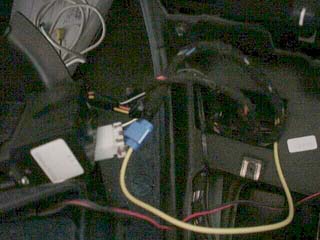
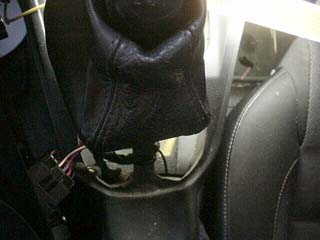
Find a suitable place for the GPS antenna. I'm experimenting with the location underneath the handbrake (wire running through the right hole). It found 4 out of a possible 10 satellites last time...
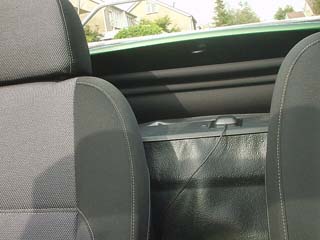
If I put the GPS receiver in the centre console, I get between 3 and 5 satelites. But when placed behind the seats, it gets 7 to 9 satellites!
Hook everything up (except for the non-switching plus originally on the Grundig) to the cable loom.
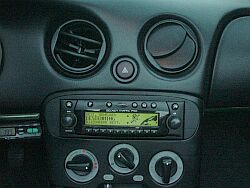
Remove the metal insert from the centre console - this bit belongs to the Grundig - any other radio wouldn't fit otherwise (believe me, I've tried ... hard!)
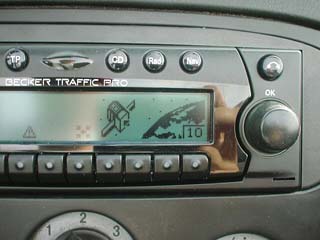
Don't forget the fascia and ... Hey presto! 10 Satellites